
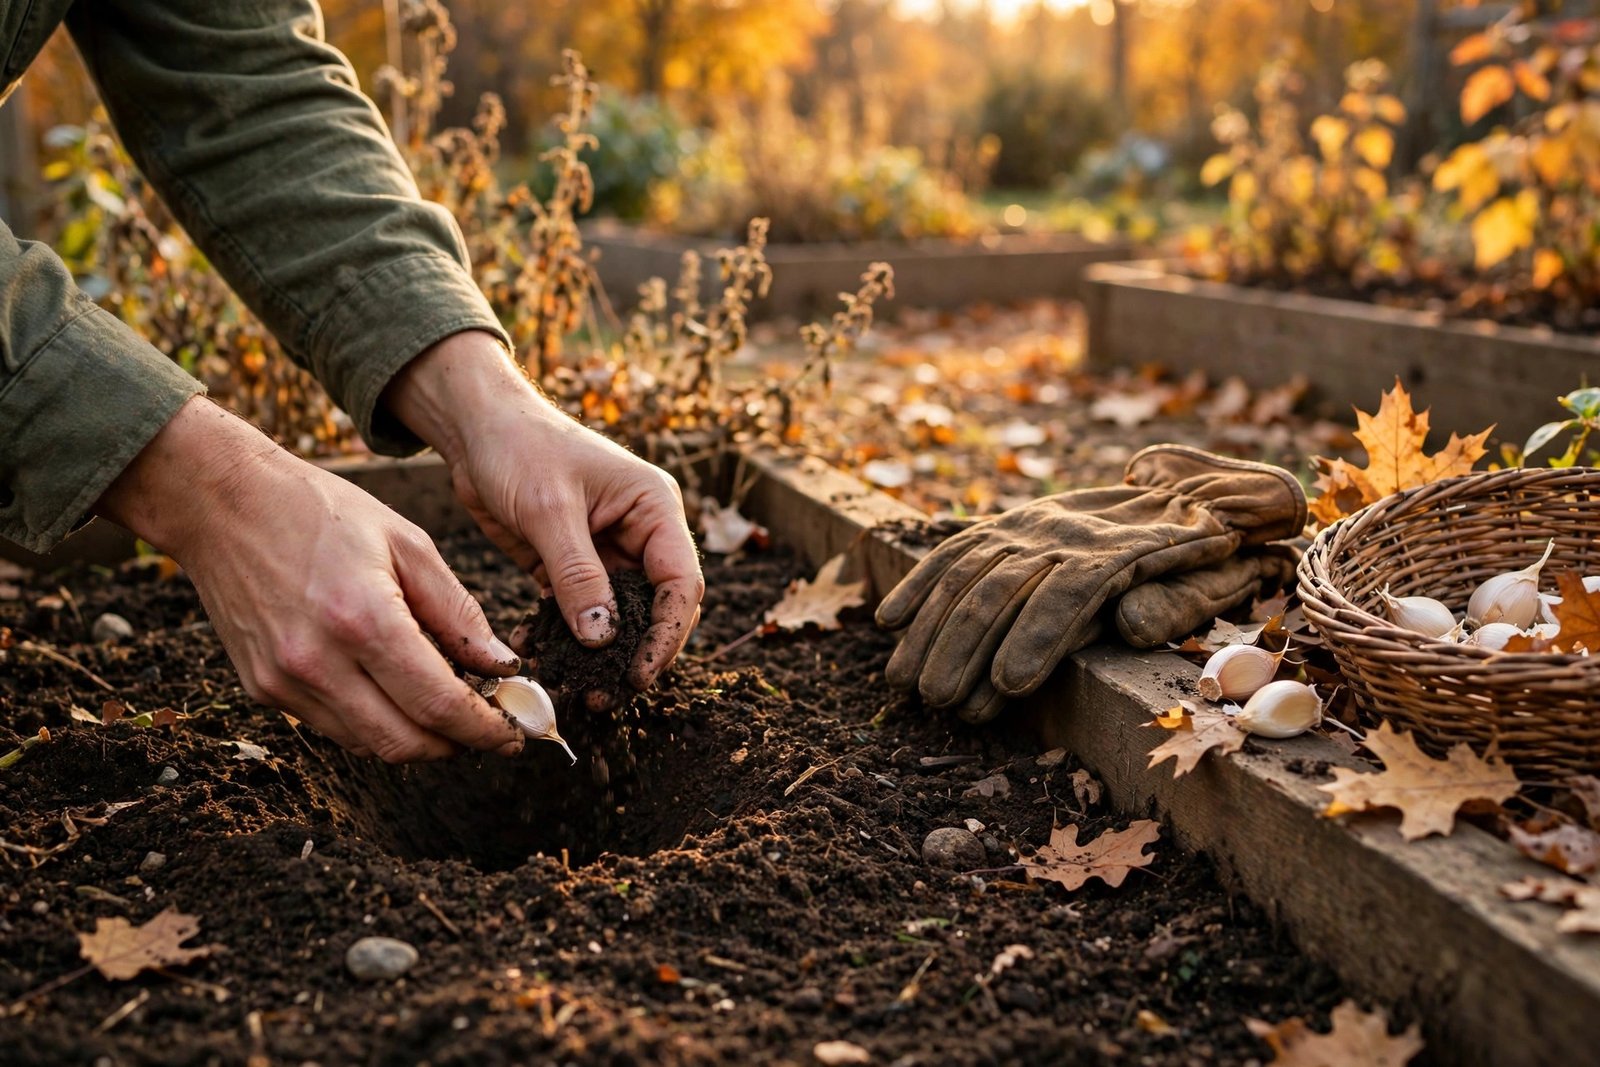
Of all the vegetables you could grow, garlic might be the most satisfying: you plant a single clove in autumn, ignore it through winter, and dig up a whole bulb the following summer — a tenfold return that tastes infinitely better than the sad, sprouting supermarket stuff. It’s also one of the easiest crops for UK beginners, asking almost nothing beyond well-drained soil and patience.
Here’s the complete step-by-step process, from choosing varieties to curing your harvest.
Step 1: choose the right garlic (not supermarket cloves)
This is the step most beginners get wrong. Supermarket garlic is often imported from warmer climates, may carry disease, and is frequently treated to prevent sprouting — plant it and you’ll likely get disappointment. Instead, buy certified disease-free bulbs from a UK garden centre or seed supplier. Two main types suit Britain:
Hardneck vs softneck
Softneck varieties (e.g. ‘Germidour’, ‘Solent Wight’) are the classic UK choice: reliable, good keepers (store 6–9 months), and they produce the plaitable stems. Hardneck varieties (e.g. ‘Music’, ‘Red Duke’) offer bigger cloves and wonderful scapes (the curly flower stems — delicious grilled) but store for less time. For your first year, softneck is the safer bet. Order in September for October–November planting.
Step 2: prepare the site
Garlic’s one demand: drainage. It rots in waterlogged soil — the single biggest killer of UK garlic crops. Choose your sunniest spot (6+ hours of sun), and if your soil is heavy clay, grow in raised beds (our raised bed guide is ideal prep) or large containers (30cm deep minimum). Dig in plenty of compost or well-rotted manure a few weeks before planting, and avoid fresh manure — it encourages rot. A slightly alkaline soil suits garlic; on very acidic soils, a light dressing of garden lime helps.
Step 3: plant in autumn (timing matters)
Plant from late October to November — though December still works in mild areas. The cloves need cold exposure (vernalisation) over winter to form proper bulbs, which is why spring planting gives poor results in the UK. Method: break bulbs into cloves just before planting (keep the papery skin on), plant each clove pointed-end up, 2–3cm deep and 15cm apart, in rows 30cm apart. Water in once, then leave them — autumn rain does the rest. Mulch with straw if your area gets hard frosts, though most UK winters are fine unmulched.
What about spring planting?
If you missed autumn, all is not lost: some suppliers sell “spring-planting” varieties bred to bulb without deep winter chill. Results are smaller but respectable. Alternatively, chill ordinary cloves in the fridge for 6–8 weeks before February planting — a decent hack that mimics winter.
Step 4: the easy growing season
Here’s where garlic earns its beginner-friendly reputation: from December to May, it essentially looks after itself. Green shoots appear in late winter; growth accelerates in spring. Your jobs are minimal:
Watering and feeding
Water during dry spells in spring (garlic is shallow-rooted), but stop watering completely 2–3 weeks before harvest — dry conditions help bulbs cure and store. One feed of general fertiliser in early spring suffices; overfeeding produces lush leaves and small bulbs.
Weeding
Keep the bed weed-free — garlic hates competition, and its narrow leaves don’t shade weeds out. A mulch of compost suppresses weeds and feeds simultaneously. That’s genuinely the whole maintenance programme.
Pests and diseases
Garlic is refreshingly trouble-free: its own pungency deters most pests. Watch for rust (orange spots on leaves — remove affected foliage, improve air circulation) and, rarely, white rot (fluffy white fungus at the base — destroy affected plants, don’t compost). Good drainage and certified stock prevent 95% of problems. The RHS garlic growing guide covers disease identification in detail.
Step 5: harvest at the right moment
Timing the harvest is the skill in garlic growing. Too early: small, immature bulbs. Too late: bulbs split and won’t store. The signal: when the lower 2–3 leaves have yellowed and died back but 4–5 green leaves remain (usually late June to July in the UK). Test by lifting one bulb — it should be well-formed with tight skins. Choose a dry day, loosen with a fork (never pull by the stem), and shake off loose soil.
Step 6: cure and store properly
Fresh garlic needs curing to store: lay bulbs in a warm, dry, airy place (a greenhouse, shed or garage) out of direct sun for 2–4 weeks until the necks are fully dry and papery. Then trim roots, cut stems to a few centimetres (or plait softnecks for the full rustic effect), and store in a cool, dark, ventilated spot — a mesh bag in a cupboard is perfect. Never refrigerate (it triggers sprouting). Well-cured softneck garlic keeps 6–9 months — your October planting feeds you until the following summer. When you’re cooking your harvest, our guide to using up vegetables has ideas for the inevitable glut.
What can go wrong (and the fixes)
Small bulbs: planted too late, harvested too early, or overcrowded — plant on time and give 15cm spacing. Rotting: waterlogged soil — improve drainage or switch to raised beds. No bulb formation: insufficient winter cold — use autumn planting and proper varieties. Green shoots but no growth: check for onion fly or leek moth (rare on garlic) and ensure feeding isn’t excessive. Most failures trace back to supermarket cloves or soggy ground — both entirely avoidable.
Growing garlic in containers
No veg patch? Garlic thrives in pots. Use containers at least 30cm deep and wide (a large pot fits four to six cloves), fill with multipurpose compost mixed with a little grit for drainage, and plant cloves 10–15cm apart at the same depth as in the ground. Container garlic needs more attention to watering — pots dry out faster — but otherwise the routine is identical: plant in autumn, feed once in spring, stop watering before harvest. The advantage is total drainage control, dodging the waterlogging that kills in-ground crops on heavy soils. Move pots to your sunniest spot (a south-facing patio is ideal) and shelter them from the worst winter winds. Harvesting and curing work exactly as described above — and there’s something deeply satisfying about pulling full bulbs from a pot on a city balcony. One caution: containers freeze harder than ground soil in severe cold snaps, so in exposed northern or Scottish locations, wrap pots in bubble wrap or move them against a sheltered wall for midwinter.
The bottom line
Growing garlic at home in the UK is genuinely one of the easiest gardening wins: buy proper seed stock, plant cloves in well-drained soil in autumn, weed occasionally, harvest when leaves yellow, cure dry. Six steps, minimal effort, and a summer harvest of garlic that will ruin supermarket bulbs for you forever. Plant 30–40 cloves your first year — it’s barely more work than planting ten, and you’ll have enough to eat, share and replant. For timing other crops around your garlic, the RHS sowing calendar and our seasonal planting guides keep your whole garden on schedule.
Frequently Asked Questions
Can I grow garlic from supermarket cloves?
It’s not recommended — supermarket garlic may carry disease, be treated against sprouting, and be a variety unsuited to UK winters. Certified seed stock from UK suppliers costs little and performs far better.
When should I plant garlic in the UK?
Late October to November is ideal — cloves need winter cold to form proper bulbs. Spring-planting varieties exist for missed autumns but yield smaller bulbs.
How long does garlic take to grow?
Around 8–9 months from autumn planting to summer harvest (June–July). It’s slow but almost entirely hands-off through winter and spring.
Why is my garlic rotting in the ground?
Almost always waterlogged soil — garlic’s biggest enemy. Improve drainage, plant in raised beds or containers, and never plant in ground that puddles in winter.
How do I store homegrown garlic?
Cure bulbs 2–4 weeks in a warm, dry, airy place until necks are papery, then store cool, dark and ventilated (never the fridge). Well-cured garlic keeps 6–9 months.




Leave a Reply